Tracie Howe Photography – Seattle Wedding Photographer | Seattle elopement photographer | Destination wedding and elopement photographer | Pacific Northwest wedding and elopement photographer | Family and lifestyle photographer | Travel photographer based in Seattle. » Seattle destination wedding and travel photographer. Specializing in documentary and candid photography for adventurous souls wanting a destination wedding or elopement. I love working with mountain-climbing, sea-loving, travel-wanderlusting free-spirits, and I hope you will contact me for your next adventure!

Masthead header

April showers bring May flowers, but in this stock photo shoot, it was not the case. I tried for both, but the sun was often shining during the raining shots and it was raining when I wanted to do the flower shots, so I went for the first part only. It’s not May yet anyway. 🙂

Thanks to Laura for coming out to model for me! She did a fantastic job, especially given the conditions she was working in. Ah, you gotta love the Northwest! Thanks also to Sara, again, for another amazing stock photo suggestion! Anyway, here is the best shot we came away with. I added a tiny bit of fake rain in post-processing… just for fun. And to make it seem a bit gloomier than it actually was at that moment.

Photo of model with umbrella in "April Showers" stock shootpinimage


What’s your suggestion for the next themed stock photo shoot? I like the idea of phrases as suggestions. You can leave your idea with me anywhere, but the best place is my Facebook Page.

Share to FacebookPin Site ImageTweet This Post


Tuesday’s Tip #3:

Your lens can make a world of difference! Those babies are expensive for a reason! Don’t be lured into buying a cheap lens because the price is good, because you really have to know what you’re buying… and not buying. I remember when I spent $250 on a 70-300mm lens, when I knew nothing about lenses, and I was shocked by how MUCH it was. Obviously, I had no clue how much it could have been. Lenses can cost more than your camera, so get over the price issue and learn about lenses if you’re serious about learning photography.

Here are a few very important things to keep in mind when searching for a good lens:

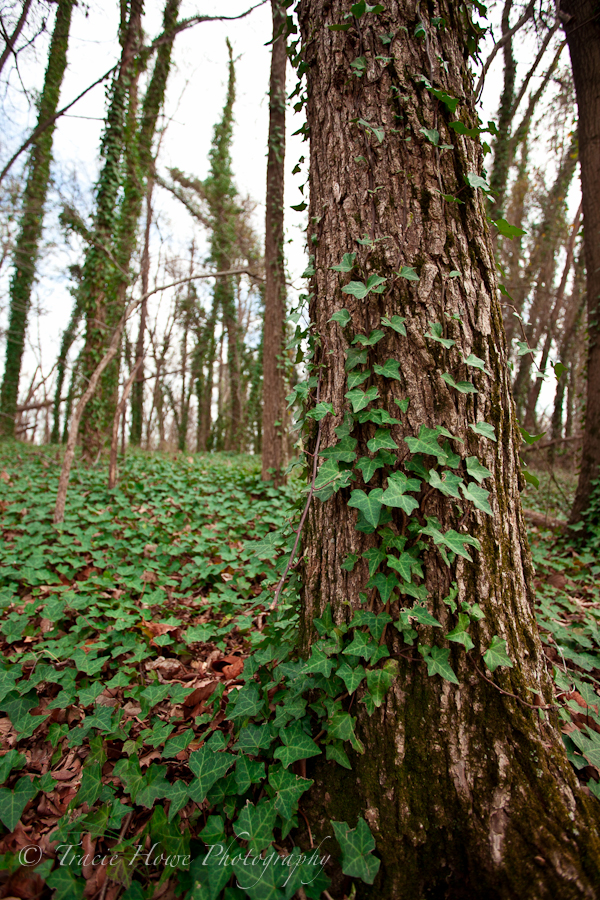
-Focal Length- An obvious one. Probably the first one that people know about. In my case, I knew that a 70-300mm  lens would zoom in quite far. The kit lens that came with the camera, only zoomed to 55mm as I recall. Now, I have a 50mm prime, which means that it doesn’t zoom in at all (FYI, these are usually cheaper and sharper, just less convenient if you prefer a more versatile lens). I also adore my 17-40mm lens, which can be quite wide at 17mm. It can distort landscapes in a favorable way, and people in a bad way depending on how it’s used. One more thing to know when you consider focal length is whether that length will be what you want for your sensor size. Without getting too detailed about this issue, just know that depending on whether you have a full frame camera like mine (Canon 5D mark II) or a camera with a smaller sensor, you will get a different effect with the same lens. For example, at 17mm my pro lens will show a black vignette around an image on the 40D, but on the 5D MarkII, it won’t because the lens is meant for that sensor size.

-Numbers, letters, and brands, oh my! – As stated above, not every lens will work with every camera in the way you might expect. I can only speak to Canon’s equipment, as my experience with other brands is limited. Canon has “smaller” lenses that are meant for the smaller sensor cameras. You can’t use those lenses (marked with an “S”) on the full frame cameras, because they simply won’t attach. However, somehow the more advanced lenses meant for the full frame cameras, will attach to the smaller sensor cameras. Weird. Anyway, I suggest simply going in to try out a lens on your camera. Focal length is the easiest thing to test out, and the folks at the camera store will be able to point you to which lenses are actually meant for your camera.

– Speed- This relates to both the aperture and the mechanics of the lens. If you have a fast lens, you can take pictures faster! Always good, right? Hopefully, that means you can focus more quickly too. The aperture is very important for speed, because the wider (lower number) you can set your aperture, the faster you can shoot with less light. Awesome! Some cheaper lenses have a range for their lowest aperture, which is something you may want to avoid. If you have a lens that shoots at f3.5 only at it’s widest focal length, what if you want to shoot at f3.5 while zoomed into something? If you have one of these cheaper lenses, you are forced to shoot at whatever lowest aperture they will give you at any given length.

– Image Stabilization- This is handy, but not always necessary. If you have a long, heavy lens, it’s definitely a good thing especially if you’re shooting without a tripod. Keep in mind that with a longer lens, you have to shoot a little faster to compensate for the wobblyness of just holding the darn thing. But what if it’s too dark to shoot fast? Well, a low aperture and/or high ISO helps, but so does an Image Stabilized lens. You might want to turn off this feature if you DO shoot with a tripod at a long exposure.

– Glass or plastic – Glass is better quality. Period.

– Zooms can slide – Not necessarily a make it or break it problem, but some zoom lenses can slip. Imagine walking around with your camera and your lens just starts getting longer and longer. Yeah, it looks funny. But it could also be a potential hazard, especially if you’re being very active. You don’t want to make the mistake of thinking your lens is closer to your body than it is, and then banging it into that rock you just crawled onto. Some cheaper lenses do this, but even expensive lenses can begin to slip over time. It’s just something to be aware of.


Have any questions? Leave them in the comments below. Maybe I can answer your question in next week’s post. 🙂

Share to FacebookPin Site ImageTweet This Post

I just returned from a trip to Virginia, where I grew up, to visit family and a handful of friends. The bonus for this particular trip was that we rented a car! I’ve only ever borrowed my mom’s car during my visits, but this time I was allowed more freedom and time to explore. Here are just a few highlights from the trip.

We started with a visit to Luray Caverns, one of the most popular caverns in the country. I have been there plenty of times and only cared to take a few iphone shots… sorry, no photos to post from there. What I really wanted to do was go through the big hedge maze right next door! It’s the sort of childish thing I like to do. 🙂

photo of hedge maze in Virginia by Luray Cavernspinimage

The next place we explored was downtown Richmond, my home town. I took Dave to some historical places in the city, and along the James River. That’s where I took this tree photo. You don’t see a lot of ivy growing all over trees in WA. At least I’ve never noticed.

photograph of an ivy covered treepinimage

Next, we took off for D.C. so that I could visit a couple of good friends, and so that Dave could check out the museums. I didn’t have time for any museums, but I did manage to get some photos of the cherry blossoms by the monuments.

Photo of the Washington Memorial and Cherry Blossoms in Washington D.C.pinimagePhoto of Cherry Blossoms in Washington D.C.pinimage

After that we were free to meander back down to Richmond at a more leisurely pace. We decided to visit Assateague Island National Seashore and Chincoteague National Wildlife Refuge. You would think I would have known about this place, growing up only about 4 hours away from it. Had I known about it before leaving for our trip, I would have definitely brought my telephoto lens! Oh well. Anyway, Assateague offers beautiful scenery and wild ponies that roam the marshes. I was told that I got pretty lucky with how close they got to me. A few of them came within 5 feet, but I was too nervous to get a better perspective than from my raised walkway. As wild animals, they’ve been known to charge, after all. But really, I’m just a chicken.

Photos of Assateague wild poniespinimagePhoto of Chincoteague wild ponies in AssateaguepinimagePhoto of sunset at Assateague Island National Seashorepinimage

Every summer there is an event during which the ponies swim to Chincoteague from Assateague. The ponies we saw at Chincoteague were fenced in and pretty far away. While we were there, we walked a wildlife trail where I saved a turtle from being stuck in the long grass. We also visited an old lighthouse, as you can see.

Photo of lighthouse and wildlife trail at Chincoteaguepinimage

And now, vacation is over. Back to business! The next thing on the agenda is my next stock photo shoot. Don’t forget to make your stock theme suggestions over on my Facebook Page!

Share to FacebookPin Site ImageTweet This Post
  • March 25, 2012 - 3:32 pm

    Kelly Coultas - Nice blog! The light in the images of the ponies is especially beautiful. Lovely collection of photos.ReplyCancel

  • March 25, 2012 - 5:00 pm

    Teresa Howe - My fav is the cherry blossoms and the Washington Monument – amazing composition!ReplyCancel

    • March 25, 2012 - 7:35 pm

      traciehowe - Thanks! I didn’t even know about the cherry blossoms before I left. Lucky timing!ReplyCancel

  • March 26, 2012 - 12:15 am

    Jamie - Love!!!! You make this east coast girl happy with the pony and blossom pictures!ReplyCancel

    • March 26, 2012 - 8:48 am

      traciehowe - Jamie, thanks! I’m glad I could make you happy. 🙂ReplyCancel

Tuesday’s Tip #2:

We don’t need no stinkin’ sun! Cloudy days are amazing for photos! For our purposes here, think about the sun as your one and only light source, and think about the clouds as a natural diffuser for this light. If you are photographing a model outside, would you prefer a harsh direct light, or a soft even light on her skin? I guess it depends on what you’re going for (keep in mind that these tips won’t apply to every situation… rules are meant to be broken!), but generally a soft light is the most flattering for skin. As long as there is enough light, a diffused light is great for any subject!

Have any questions? Leave them in the comments below. Maybe I can answer your question in next week’s post. 🙂

Share to FacebookPin Site ImageTweet This Post

Let me introduce you to the first Tuesday’s Tip for better photos! In my Facebook poll, when asked what you would like to see as a regularly scheduled post, you voted on photography tips. These tips will be meant mostly for beginners, because  preferably with a DSLR camera, just so we’re all on the same page. Some tips may be applicable to point and shoot cameras, so I encourage you to pay attention anyway if that’s all you have. After all, maybe you will be inspired to upgrade! 🙂

Okay, here goes…

Tuesday’s Tip #1:

Change your perspective. You won’t believe how much more interesting a subject can become when you force yourself to photograph it from a new angle. Some of my best photos were taken in the most uncomfortable positions, but they were well worth it! I suggest finding a subject that you can manuver around, and try taking pictures from all different positions. Don’t worry about your camera settings as much, just think about perspective. Shoot straight down from above, bend over, climb a ladder, lay on the ground, get as close as possible, and get far away. Don’t just stand there, move around!


Have any questions? Leave them in the comments below. Maybe I can answer your question in next week’s post. 🙂

Share to FacebookPin Site ImageTweet This Post
K e e p   u p   w i t h   T H P